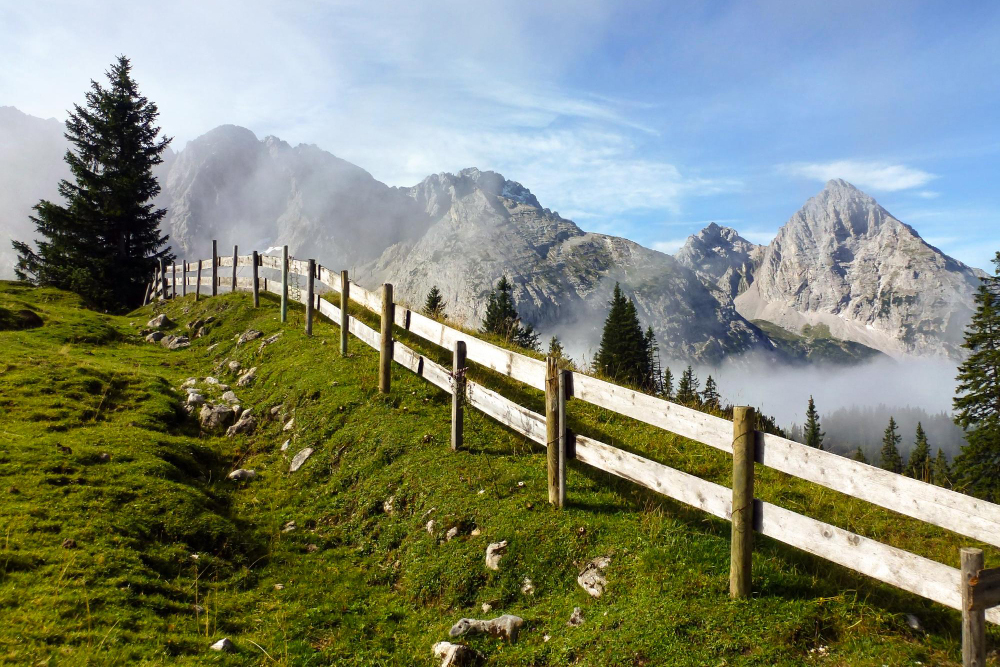
Tips for Building a DIY Fence on a Slope

Building a fence on a slope can be a challenging task, but with the right approach and tools, you can create a sturdy and aesthetically pleasing barrier. Whether you're looking to enhance privacy, keep pets secure, or simply add a decorative touch to your yard, this guide will provide you with essential tips and techniques for constructing a DIY fence on a slope. If you find the task too daunting or are looking for expert advice, consider reaching out to professional fence contractors in Ormond Beach, FL, such as Byers Fence, who can offer valuable insights and assistance.
Understanding the Challenges of Building on a Slope
Before you begin your fencing project, it's important to understand the unique challenges that come with building on a slope. Unlike flat terrains, sloped areas require careful planning and execution to ensure the fence's stability and functionality. Here are some common challenges:
Uneven Terrain
The varying angles and elevations of a slope can make it difficult to maintain a consistent fence height and alignment. You'll need to adjust your fence design to accommodate these changes.
Soil Erosion
Slopes are often prone to soil erosion, which can affect the stability of your fence posts. Proper drainage and reinforcement techniques are essential to prevent this issue.
Water Runoff
Water runoff can be more pronounced on a slope, potentially leading to damage or weakening of the fence structure over time. It's crucial to plan for effective water management.
Essential Tools and Materials
Before you start building your fence, gather the necessary tools and materials to ensure a smooth and efficient process. Here's a list of items you'll need:
- Measuring tape
- Level
- Posthole digger or auger
- Concrete mix
- Gravel
- Hammer
- Screws or nails
- Saw
- String line
- Fence panels or boards
- Protective gear (gloves, goggles)
Step-by-Step Guide to Building a Fence on a Slope
Step 1: Plan and Design
The first step in any successful fencing project is planning and design. Take the time to sketch out your fence's layout and determine the desired height and style. Consider the gradient of the slope and any potential obstacles, such as trees or rocks, that may impact your design.
Step 2: Mark the Fence Line
Using a measuring tape and string line, mark the fence line along the slope. This will serve as your guide for placing the fence posts and ensuring a straight and even alignment. Be sure to account for any changes in elevation and adjust the string line accordingly.
Step 3: Install the Fence Posts
Begin by digging postholes along the marked fence line using a posthole digger or auger. The depth of each hole should be approximately one-third of the total post height. To provide additional stability, add a layer of gravel at the bottom of each hole before placing the fence post.
Check that each post is level and plumb, and secure it in place with concrete mix. Allow the concrete to set for at least 24 hours before proceeding.
Step 4: Attach the Fence Panels
Once the posts are securely in place, begin attaching the fence panels or boards. Depending on your design and the slope's gradient, you may need to cut the panels to fit the terrain. Use a saw to trim any excess material as needed.
To maintain a consistent height along the slope, consider using a stepped or racked fence design. A stepped fence features panels that follow the slope in a series of horizontal steps, while a racked fence gradually adjusts the angle of each panel to match the slope's contour.
Step 5: Reinforce and Secure
After the fence panels are attached, reinforce the structure by adding horizontal support rails. These rails provide additional stability and prevent the panels from sagging over time. Use screws or nails to secure the rails to the fence posts.
If water runoff is a concern, install a drainage system or incorporate landscaping features, such as retaining walls or terracing, to manage the flow of water and protect the fence from erosion.
Step 6: Finishing Touches
Finally, add any finishing touches to enhance the appearance and functionality of your fence. Apply a weather-resistant stain or sealant to protect the wood from moisture and UV damage. Consider adding decorative elements, such as post caps or lattice panels, to customize your fence to your liking.
Benefits of Hiring Professional Fence Contractors in Ormond Beach, FL
While building a DIY fence on a slope can be a rewarding project, there are several benefits to hiring professional fence contractors in Ormond Beach, FL, like Byers Fence. Here are a few reasons to consider hiring experts:
Expertise and Experience
Professional contractors have the skills and knowledge to tackle challenging projects, such as building on a slope. They can provide valuable insights and recommendations to ensure your fence is both functional and visually appealing.
Time and Cost Savings
Hiring professionals can save you time and money in the long run. They have access to the necessary tools and materials, and their experience allows them to complete the project efficiently and accurately.
Quality Assurance
With professional installation, you can be confident in the quality and durability of your fence. Contractors adhere to industry standards and best practices, providing you with peace of mind and a long-lasting investment.
Conclusion
Building a DIY fence on a slope requires careful planning, precision, and attention to detail to overcome the inherent challenges. By following the step-by-step guide outlined above, you'll be well on your way to creating a sturdy and attractive fence that enhances your property's value and appeal. If you find yourself in need of expert assistance, don't hesitate to reach out to reputable fence contractors in Ormond Beach, FL, such as Byers Fence, to schedule an appointment and ensure your fencing project is a success.